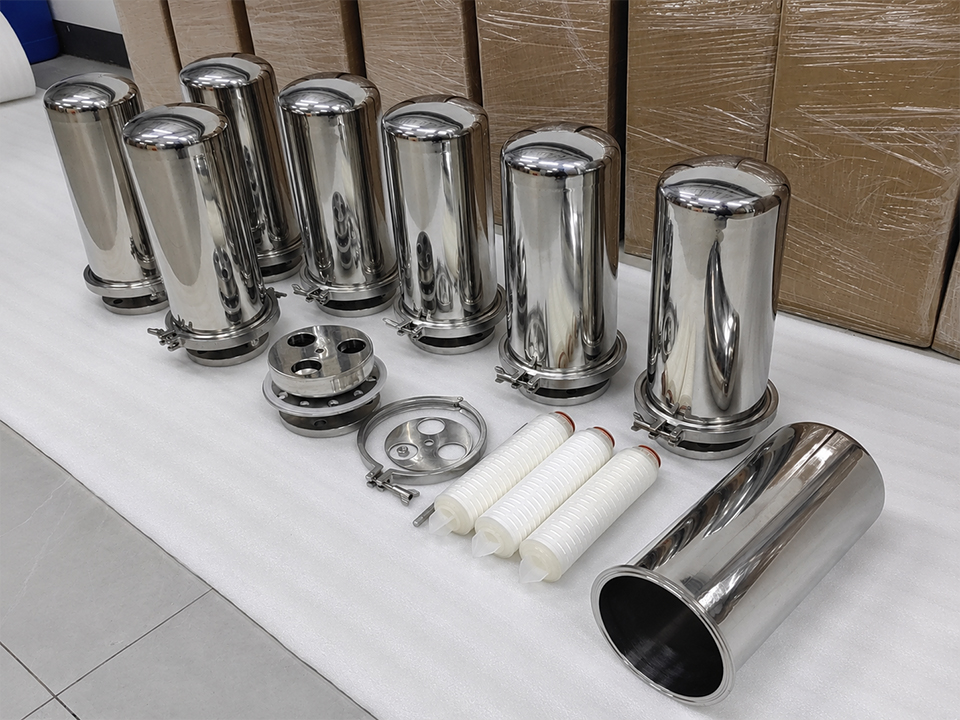
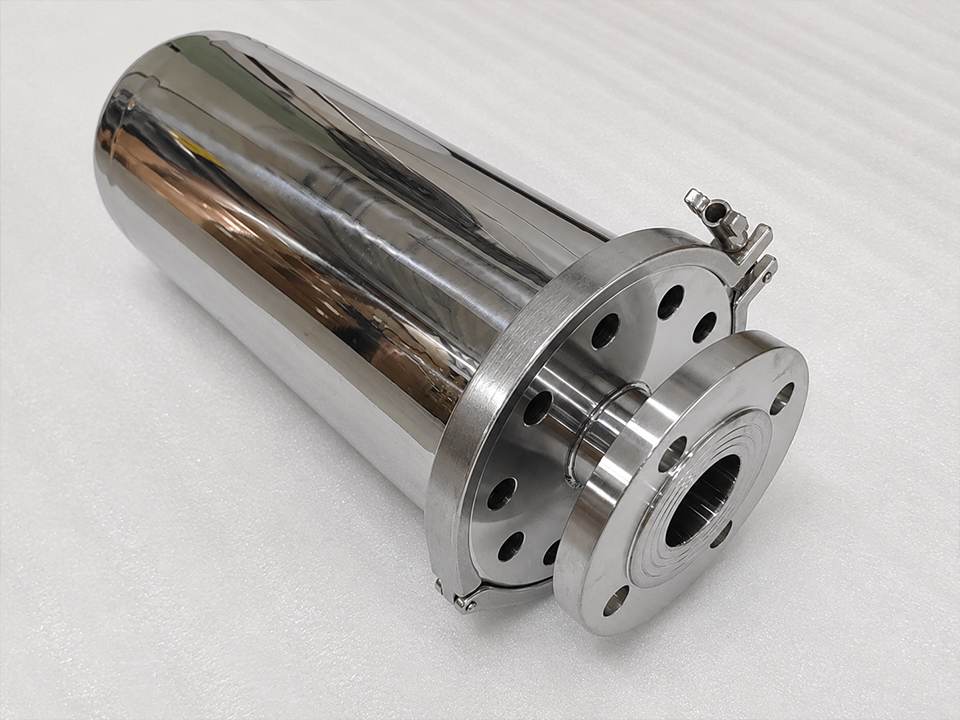
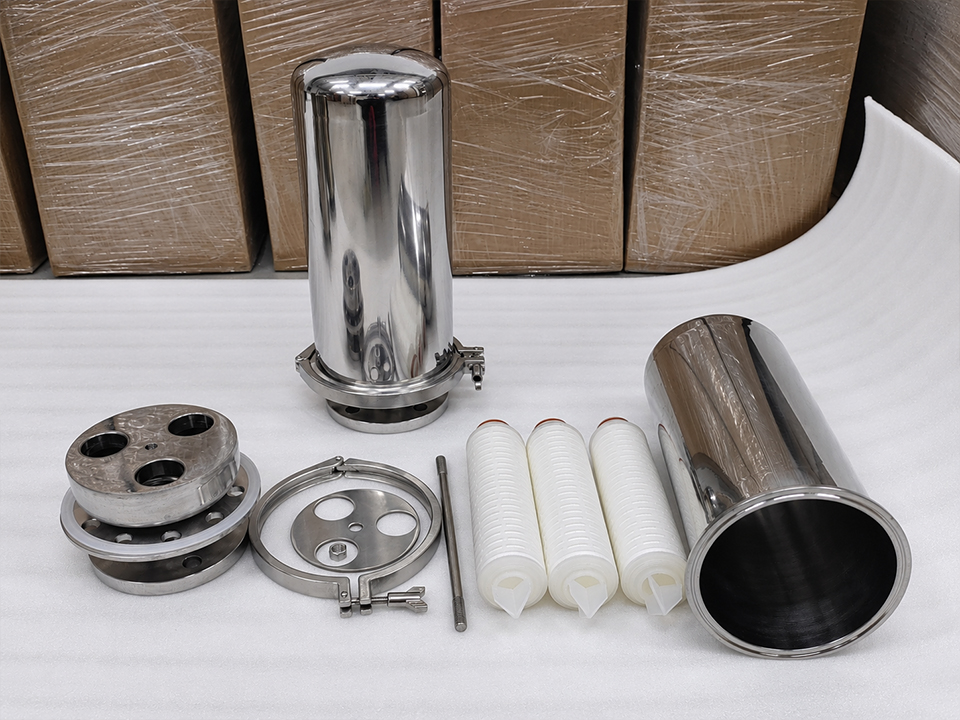
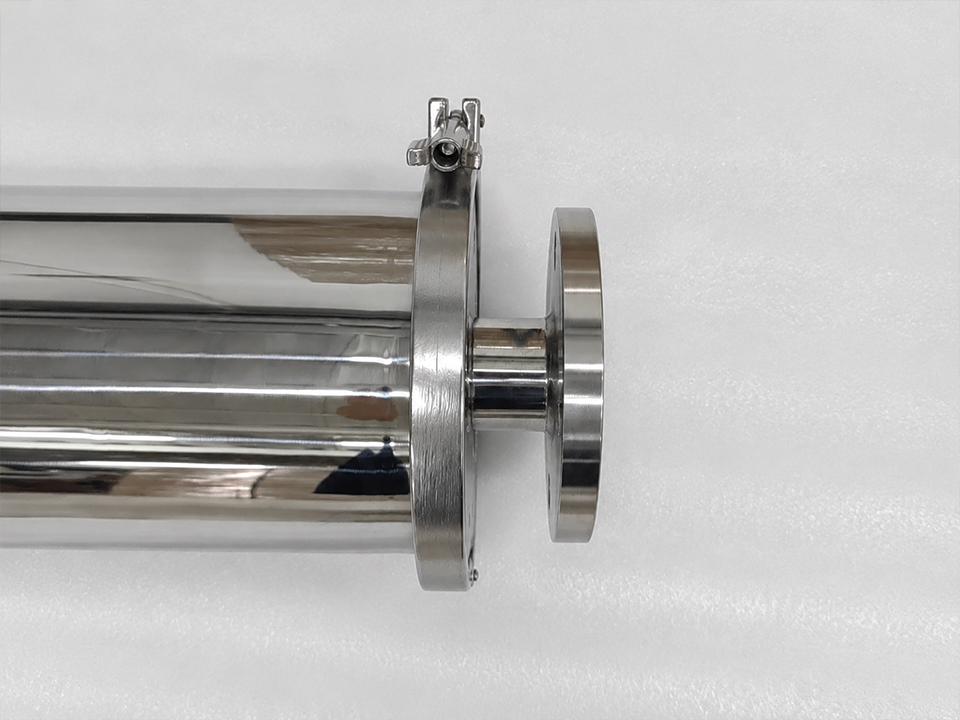
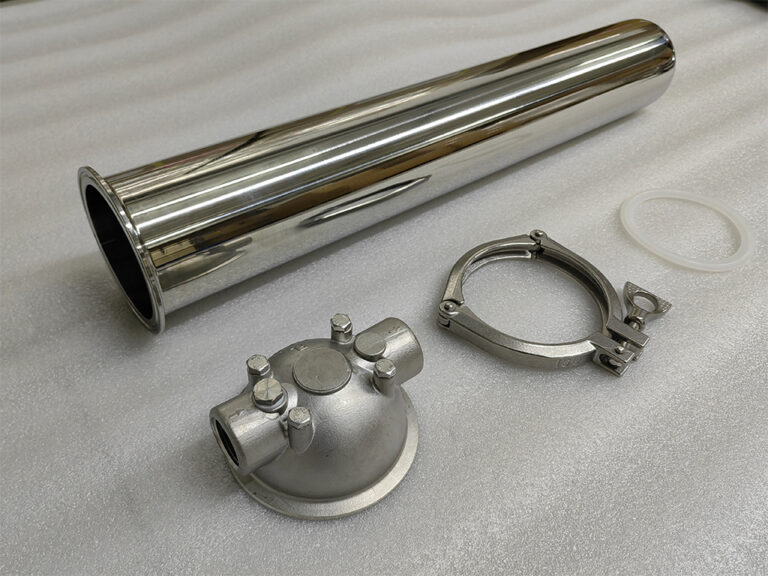
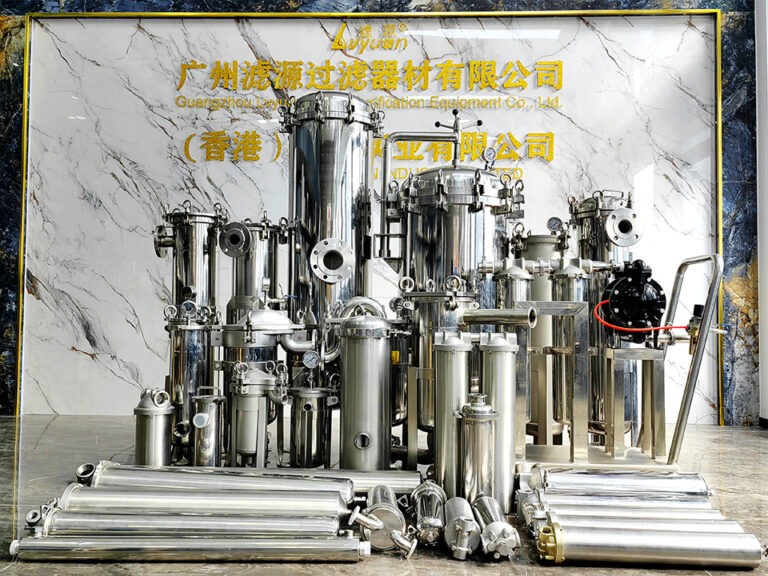
Guangzhou Lvyuan Water Purification Equipment Co., Ltd. is an industrial filter manufacturer founded in 2009 that designs and manufactures stainless steel filter housings, stainless steel sterile water tanks, filter elements, filter bags, ultra-polymer materials, and sintered filter products. Buyers choose Lvyuan for OEM/ODM support, ISO9001 quality control, and multi-country certifications.
Guangzhou Lvyuan Water Purification Equipment Co., Ltd.
Startup Procedure for Multi-Cartridge Filter Housings
A multi-cartridge filter housing can fail on its first day without any fault in the housing or the elements. Trapped air, one cartridge that isn’t seated, a gasket pinched during closure, or a valve opened too fast can all send unfiltered fluid downstream or damage elements before the first production batch. The startup procedure is the control that prevents these problems. This guide covers the checks to complete before fluid enters, the fill-and-vent sequence, how to bring the housing online, and what to record as a baseline. It also covers how startup differs for sintered metal and sintered plastic elements, and what to give a supplier so the elements and housing suit each other.
What Should a Multi-Cartridge Housing Startup Achieve?
A correct startup does five things:
Every element is seated and sealed in its own position.
The cover is closed evenly against an undamaged gasket.
Air is fully removed before the housing is pressurized.
Flow is raised gradually, without pressure surges.
A clean-element differential pressure (ΔP) is recorded at a known flow.
The first two points matter more in a multi-cartridge housing than in a single-element one. Several elements share one tube sheet or sump plate and are usually held down by a cover plate or tie-rod arrangement. One badly seated element provides a path around the media, and the others still look normal. With a single cartridge, a mistake is easier to see.
Pre-Startup Checks Before Fluid Enters the Housing
Confirm that the housing, elements and process match
Check the installed elements against the purchase specification before closing the cover:
Element length and quantity.
End-cap or connection style (for example threaded, Tri-Clamp, flanged or open-ended with a gasket).
Micron rating.
Material.
Pressure and temperature limits for the housing and each element.
Compare these to the actual process fluid, temperature and maximum differential pressure, not just the datasheet. Elements that pass a visual check can still be the wrong material or grade for the duty.
Material suitability is a good example. Sintered titanium is typically specified for corrosive media, steam and heated duties. The sintered titanium filter cartridge offered by LY Filter, for instance, is described with threaded M20–M32 connections and lengths from 5″ to 40″. Elements in sintered stainless steel, titanium, wire mesh or polymer have different startup tolerances and cleaning options, so the startup plan should name the element type.
Check the seating surfaces and closure
Inspect the following:
The sealing surface of the sump or tube sheet.
The cover gasket or O-ring, for cuts, flat spots and contamination.
Each element end, for scratches, burrs or debris on the sealing face.
The cover bolts or swing bolts, for thread condition.
Manufacturer instructions usually include a gasket-care step. One Fil-Trek cartridge housing manual says to clean and inspect the gasket seating surface and re-lubricate the gasket before closing the cover. That manual specifies petroleum jelly for its own gasket. Do not copy that lubricant choice to another housing. Petroleum-based lubricants can attack some elastomers (EPDM is a common example), and food, pharmaceutical or oxygen-adjacent services have their own lubricant limits. Use the lubricant the housing manufacturer and the gasket material specify.
Verify that vent, drain and gauge ports are usable
A multi-cartridge housing needs a working vent at its highest point, a drain at its lowest point, and pressure gauges (or transmitters) upstream and downstream. Microfiltrex’s technical-support guidance recommends a vent valve on the shell and gauges on the housing body so that differential pressure across the cartridges can be monitored. Fit them before startup. Adding them later means opening a housing that is already in service.
Decide whether a prefilter or strainer is needed upstream
New piping carries weld spatter, scale, sealant and construction debris. Sintered elements have rigid, fine pore structures, and they can load quickly if the first fluid through them is dirty. Many sintered elements can be backwashed or cleaned, but a first-day blockage still wastes time and can contaminate the element so badly that cleaning doesn’t fully recover it.
A coarser, cleanable upstream stage can take the construction debris. A stainless steel perforated mesh filter cartridge with a rigid support core is one example of a reusable coarse option. It is described for liquid filtration in SS304/316 with custom sizes and flanged ends. Flush the new line to a drain, or run a temporary strainer, before the final elements see process fluid.
Step-by-Step Startup Sequence
This is a generic liquid-service sequence. It must be adjusted to the housing manual, the element type and the site’s safety rules.
Isolate and depressurize. Confirm the housing is isolated and at zero pressure. Open the vent and check that the housing is drained.
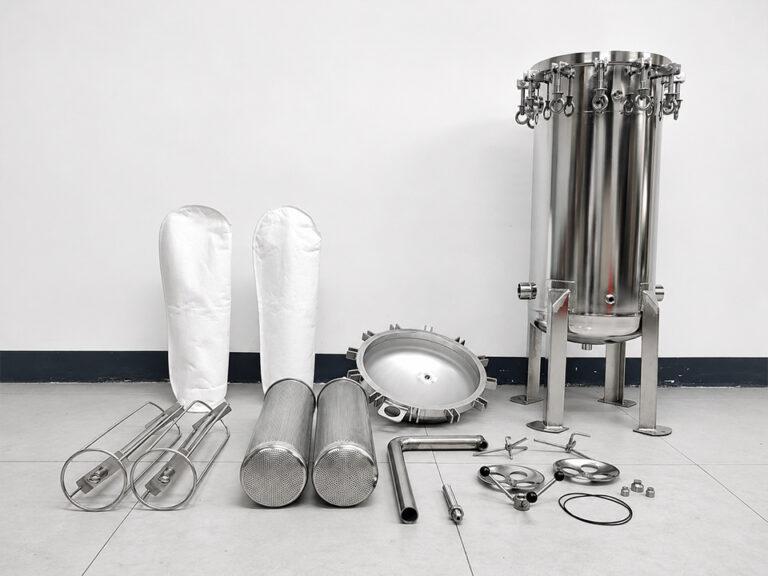
Install and seat elements. Place each element on its seat or adapter. Check that every top seal, fin, wing nut, clamp or hold-down is positioned as the housing maker requires.
Close the cover. Seat the gasket, fit the bolts and tighten in stages in a star or alternating pattern. The Fil-Trek manuals describe applying a starting torque in a star pattern and then adding torque in the same pattern. Use the torque the housing maker publishes.
Open the vent and close the drain. The outlet valve stays closed or throttled, depending on the housing procedure.
Open the inlet valve slowly. Fill the housing gradually. Fil-Trek’s VF-series manual tells the operator to let the vessel fill slowly, close the vent once liquid bleeds from it and then open the outlet valve.
Vent until liquid runs clear of air. Close the vent only when a steady, bubble-free stream comes out.
Bring the system up to working pressure. Raise pressure gradually and check the cover, drain and vent for weeping.
Open the outlet and increase flow in stages. Watch upstream and downstream pressure while doing so.
Record the baseline. At the design or normal flow, note flow rate, temperature, upstream pressure and ΔP.
Re-check for leaks and re-vent. Gas can accumulate after the first flow cycle, so vent again after a short run.
Manuals differ on valve sequencing. Fil-Trek closes the vent and then opens the outlet. A 1996 Rosedale Products engineering standard for multi-basket and bag housings describes opening the inlet to about 25% of normal flow, venting trapped air and then opening the outlet slowly. Those documents cover bag and basket designs, not sintered elements, but they show the principle: the housing manual is the authority on sequence. The goal is the same in all of them, a full, vented housing and a gradual increase in flow.
Why Is the Baseline Differential Pressure Important?
Record a clean-element ΔP at a known flow, temperature and fluid. It becomes the reference for every later cleaning or replacement decision. Microfiltrex’s guidance notes that a rise in upstream pressure indicates blinding and that operators should follow the cartridge manufacturer’s maximum allowable differential pressure. Without a baseline, “high ΔP” has no starting point.
A low reading is not automatically good news, and that is where multi-cartridge housings differ from single-element ones. If one of twelve elements is unseated, most of the flow can take the easy path through that gap. The housing will show a lower ΔP than the baseline predicted, but the fluid has been poorly filtered. Treat a lower-than-expected ΔP as a prompt to investigate seating, particularly on the first run of a new housing or after an element change.
A related assumption deserves qualification: that a faster startup means less downtime. A slow fill and a few minutes of venting cost very little compared with a damaged element, a contaminated product batch or a second shutdown to reseat elements. The one exception is a process with a defined hold time or a validated procedure that specifies a flow ramp. In that case, follow the validated procedure, not a general rule.
How Does Startup Differ by Element Type?
The fill-and-vent logic is the same across element types. The risks differ because of rigidity, wettability, cleanability and the connection used.
Element type
Startup considerations
What to verify with the supplier
Sintered metal powder cartridge
Rigid, so it won’t collapse under pressure, but fine grades load quickly if the line is dirty.
Maximum ΔP, cleaning method, seal and end-cap style
Sintered wire mesh element
Bonded multilayer mesh; sealing depends on the end connection.
Connection type, alloy, cleaning compatibility
Sintered titanium cartridge
Chosen for corrosion, heat and steam; thermal ramp and gasket choice matter.
Temperature limits, gasket compatibility, threaded interface
Perforated mesh cartridge
Coarse, reusable; often used upstream or as a strainer stage.
Opening size, support core, flange details
Sintered PE/UHMW-PE/HDPE
Lighter, chemical-resistant, but with thermal and chemical limits.
Maximum temperature, fluid compatibility, ΔP limit
Sintered PTFE
Hydrophobic media may behave differently on first wetting.
Wetting guidance, gas versus liquid use, chemical compatibility
Use the table for planning questions, not as specification. Actual limits come from the element supplier’s data for the specific grade and size.
Sintered metal elements
A stainless steel sintered powder filter cartridge has a rigid porous body and is described for both gas and liquid filtration. Rigidity helps resist deformation, but it doesn’t replace the need for correct seating or the ΔP limit. For sanitary or process piping, the Tri-Clamp sintered wire mesh filter element is described as a multilayer sintered mesh with a Tri-Clamp connection. In that case, check the clamp gasket and clamp seating as part of the pre-startup checks. LY Filter describes both of these as cleanable by backwashing, ultrasonic or compatible chemical methods. Confirm the cleaning method for your fluid before you finalize the startup and maintenance plan.
Sintered plastic elements
Polyethylene elements are lighter and widely used for chemical compatibility. LY Filter lists UHMW-PE sintered porous filter cartridge tubes and a sintered HDPE porous filter tube with a stated 1–100 μm range. For plastic elements, the operating temperature, the fluid compatibility and the differential-pressure limit should be confirmed before startup, because thermal or pressure excursions can permanently deform the element in ways a metal one tolerates. Avoid thermal shock from sudden hot-fluid introduction.
A sintered PTFE porous filter cartridge is a different case. PTFE is naturally hydrophobic, so ask the supplier whether it needs pre-wetting for aqueous liquid service, or whether it is intended mainly for gas, vent or aggressive-chemical use.
Hot, steam and corrosive duties
For heated or steam service, add a controlled warm-up step so that the housing, gaskets and elements heat together. Confirm gasket material against both temperature and chemistry. Do not apply liquid-service venting rules to steam without the housing manufacturer’s guidance. Condensate management and safe discharge from the vent are separate safety questions.
When Is a Liquid Fill-and-Vent Procedure the Wrong Model?
Pressure surge, shifted elements, possible element or seal damage
Slow fill, throttled inlet, ramped flow
Closing the vent too early
Trapped air, uneven flow, gas pockets above the elements
Vent until a steady liquid stream with no bubbles
One element unseated
Unfiltered bypass; ΔP lower than expected
Check seating before closing; investigate low ΔP
Uneven bolt tightening
Gasket leak or pinched seal
Staged star-pattern tightening
Using dirty new piping
Early blinding of fine elements
Flush line, use a temporary strainer
Unrecorded baseline
No reference for cleaning or replacement
Record flow, temperature, pressures and ΔP
Wrong gasket or lubricant
Swelling, leaks, or contamination
Follow housing and elastomer specifications
An illustrative example (not a customer case): a team installs twelve elements in a housing, then sees a ΔP well below the supplier’s clean-element estimate. They assume the elements are very open and approve production. Later, a downstream quality check finds particles. The cause is one element with its seal face resting on debris. The housing was never opened again to check, because a low ΔP looked like a good result.
What Should Buyers Specify Before Requesting Elements for a Housing?
Startup problems often begin before the housing is installed, with vague elements specifications. Prepare these details for an RFQ so the supplier can match the element to the housing:
Housing data: manufacturer, model, number of positions, element length and the sealing style (gasket, O-ring, threaded, Tri-Clamp or flanged).
Process fluid: liquid or gas, chemistry, solids loading, viscosity and any cleaning or sterilization chemicals.
Operating conditions: flow, temperature range, working pressure, maximum allowable ΔP and any pressure or thermal cycling.
Filtration requirement: target particle size or micron rating, and whether the rating must be nominal or validated.
Element material: metal grade or polymer, and whether a specialty alloy is needed.
Cleaning plan: backwash, ultrasonic or chemical cleaning, or single-use replacement.
Quality documents: material certificates, test reports or inspection records the project needs. Confirm what the supplier can actually provide.
Startup constraints: hot service, hold times, or a validated start procedure that the supplier needs to know about.
Ask for custom dimensions and connection details early. Changing an end cap after the housing has been ordered can cost far more than getting it right at the quoting stage. For help with a specific project, share the housing drawing and operating data through the contact form on the relevant product page, such as the sintered titanium cartridge page if heat or corrosion is involved.
Frequently Asked Questions
What is the correct startup sequence for a multi-cartridge filter housing? Isolate and depressurize, seat every element, close the cover with staged tightening, open the vent, fill slowly through the inlet, vent until air-free, open the outlet gradually and record baseline differential pressure. Follow the housing manual for exact valve order.
Why must a filter housing be vented at startup? Trapped air can create uneven flow, cause pressure fluctuations and leave gas pockets above the elements. Manufacturer instructions typically call for closing the vent only after liquid flows from it, and for re-venting after the first flow cycle.
How fast should I open the inlet valve? Slowly. Manufacturer manuals describe filling gradually, and one bag-housing standard describes starting at about 25% of normal flow. Use the housing manual’s figure, because suitable rates depend on pressure rating, element type and process fluid.
Does low differential pressure mean the filters are working properly? Not necessarily. In a multi-cartridge housing, an unseated element creates a low-resistance bypass, so ΔP can drop while filtration gets worse. Compare the reading to a clean-element baseline and check seating if it is unexpectedly low.
What differential pressure should I record at startup? Record the actual clean-element ΔP at a known flow, temperature and fluid viscosity. Limits for replacement or cleaning come from the element manufacturer, because they depend on media, construction and service, so no universal value applies.
Do sintered metal cartridges need a different startup from disposable cartridges? The fill-and-vent steps are the same. Sintered metal elements are rigid and often cleanable, so confirm the sealing method, ΔP limit and cleaning approach. Protect fine grades from construction debris, because early loading shortens cleaning intervals.
Can plastic sintered elements be used in hot service? Only within the supplier’s stated temperature and chemical limits for the specific grade. Polyethylene and PTFE elements behave differently from metal ones under heat and pressure. Confirm limits and avoid sudden thermal shock before specifying them.