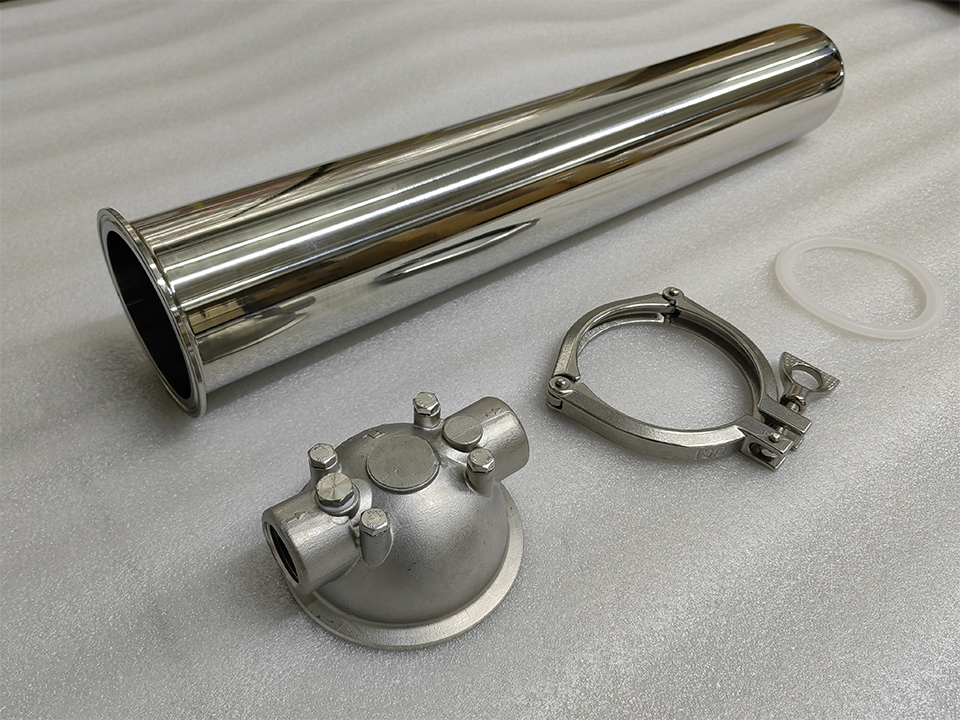
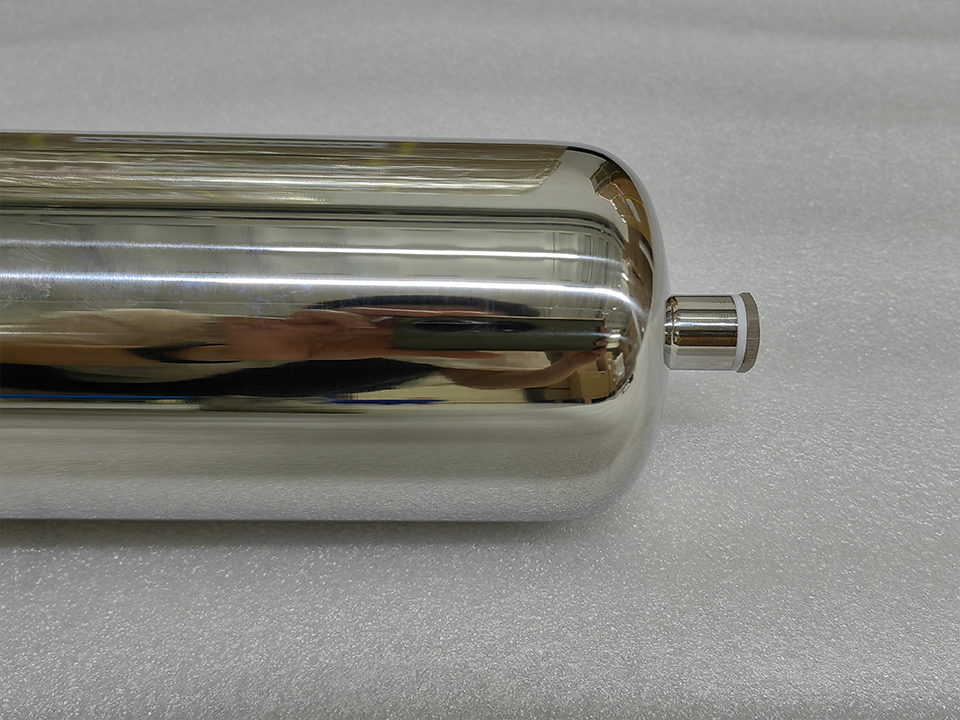
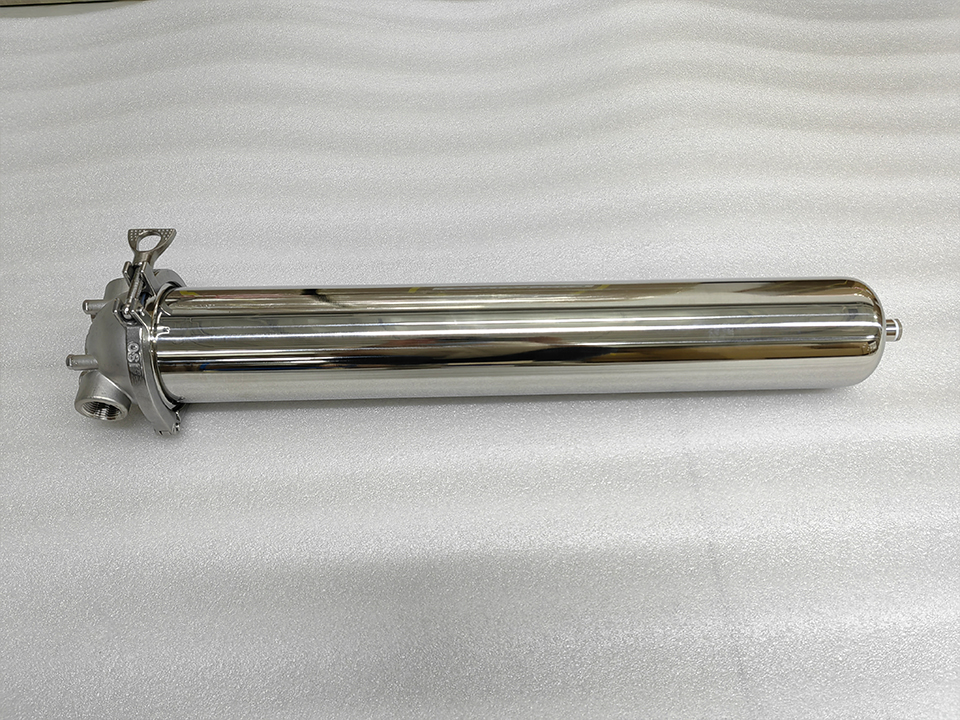
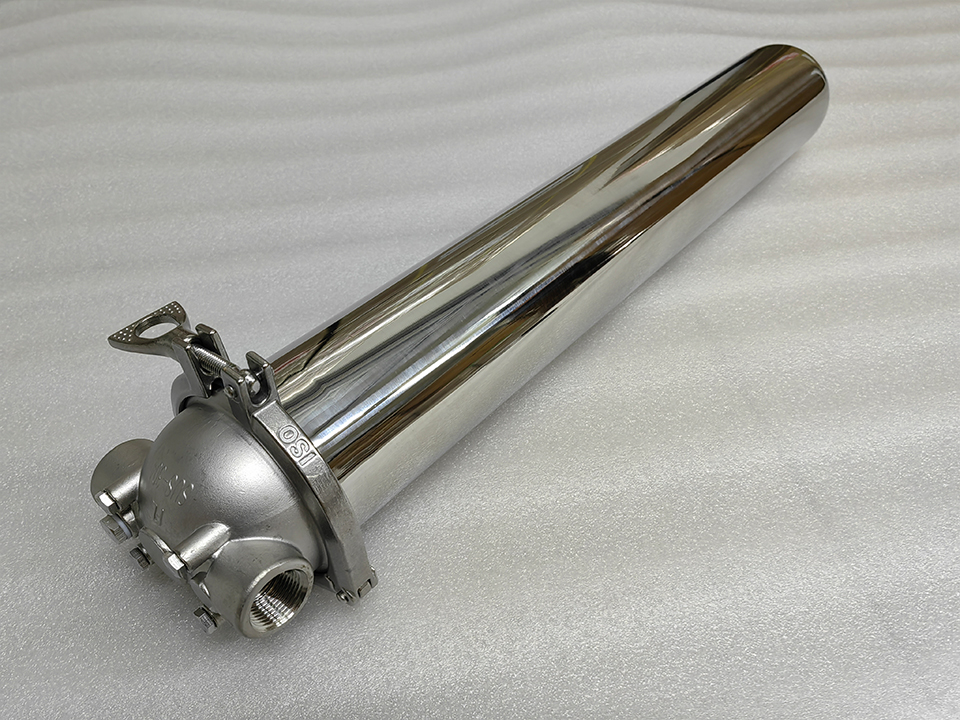
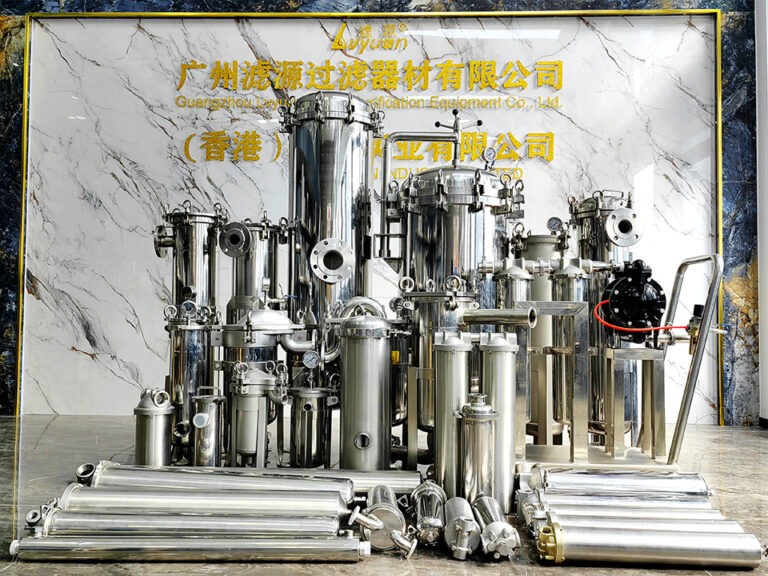
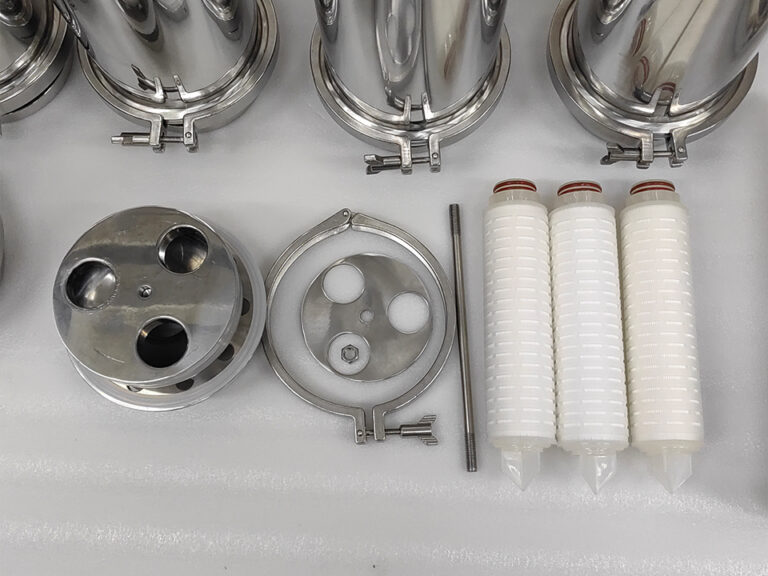
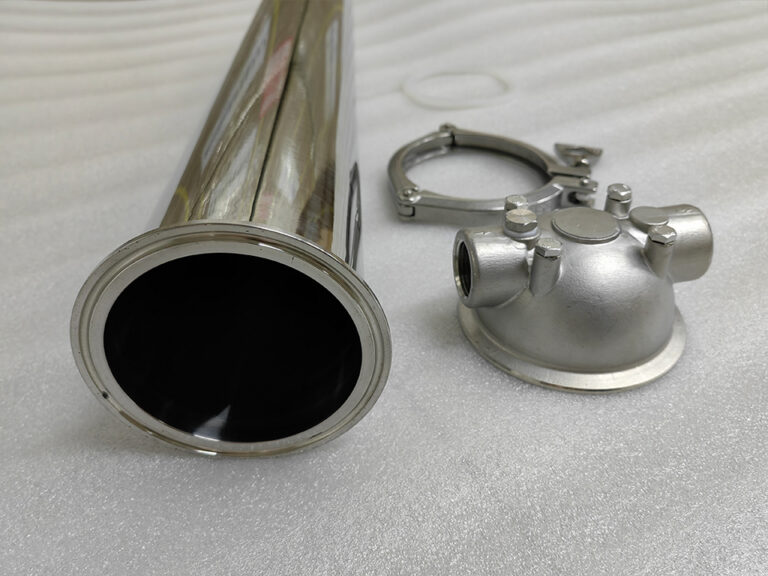
Guangzhou Lvyuan Water Purification Equipment Co., Ltd. is an industrial filter manufacturer founded in 2009 that designs and manufactures stainless steel filter housings, stainless steel sterile water tanks, filter elements, filter bags, ultra-polymer materials, and sintered filter products. Buyers choose Lvyuan for OEM/ODM support, ISO9001 quality control, and multi-country certifications.
Guangzhou Lvyuan Water Purification Equipment Co., Ltd.
Commissioning Checklist for Stainless Filter Housings
A stainless steel filter housing can pass factory inspection and still cause trouble in its first week on site. Typical causes are a misseated O-ring, a trapped air pocket, a clamp gasket pushed out of alignment, or a basket that was never checked against the mesh the process actually needs. Commissioning is the sequence of checks that confirms the housing matches the order, is installed without stress, is clean for its duty, is sealed and vented, and operates inside its limits before it protects a pump, a product line or a customer batch. This checklist is written for engineers, maintenance and operations managers, and purchasing teams who specify and sign off housings, strainers and filtration skids. It follows the order of work on site and shows where checks differ between strainers, cartridge housings and mobile units.
What Does Commissioning a Stainless Steel Filter Housing Include?
Commissioning a stainless steel filter housing means verifying, in order, that the delivered unit matches the purchase specification and is installed with correct support and access. It also means the unit has been cleaned and flushed, carries correctly seated elements and seals, fills and vents without trapped air, and holds pressure without leaks. The last step is a recorded clean-condition baseline for pressure drop and flow.
It differs from two related activities. A factory acceptance test happens at the supplier and checks the unit as built. Routine start-up happens every time the line restarts and repeats only part of this list. Commissioning is the one-time site activity that proves the whole installation, including the piping, instruments and operating procedures around the housing.
How much of the list applies depends on duty. A coarse protective strainer on a utility water line does not need the documentation that a hygienic housing on a beverage or purified-water line does. The steps below flag where the extra rigor is justified.
Step 1: Check the Delivery Against the Purchase Specification
Do this before anything is lifted into position. Errors found here cost a phone call. Errors found after piping is welded cost a shutdown.
Nameplate and tag. Confirm model, serial number, design pressure and temperature, and that the figures match the datasheet you approved.
Material grade. SS304 and SS316L are both common for these products, and they are not interchangeable in chloride-bearing or aggressive cleaning environments. If material test reports were part of the order, match heat numbers to the vessel.
Process connections. Check connection type and size: Tri-Clamp, weld, threaded sanitary, NPT, BSP or flange. For flanges, confirm the standard, pressure class and facing against the mating pipe.
Element and basket. Confirm perforation or mesh rating, cartridge length, and end-cap style (for example DOE, 222/SOE or 226/SOE on cartridge housings). A style mismatch will not show up as an obvious defect until the housing is under flow.
Seal material. Check gasket and O-ring compounds against the fluid, temperature and cleaning chemicals, including any sanitizing cycle.
Surface finish. If the order specified mirror polishing or electropolishing, check the supplier’s finish documentation and inspect the wetted surface visually.
Shipping damage. Inspect sealing faces, clamp ferrules, thread forms and the basket rim for dents or scratches. A scored sealing face is a leak waiting for pressure.
Step 2: Verify the Installation
Mechanical installation errors cause more start-up problems than defective hardware, because they are easy to make and hard to see once the unit is running.
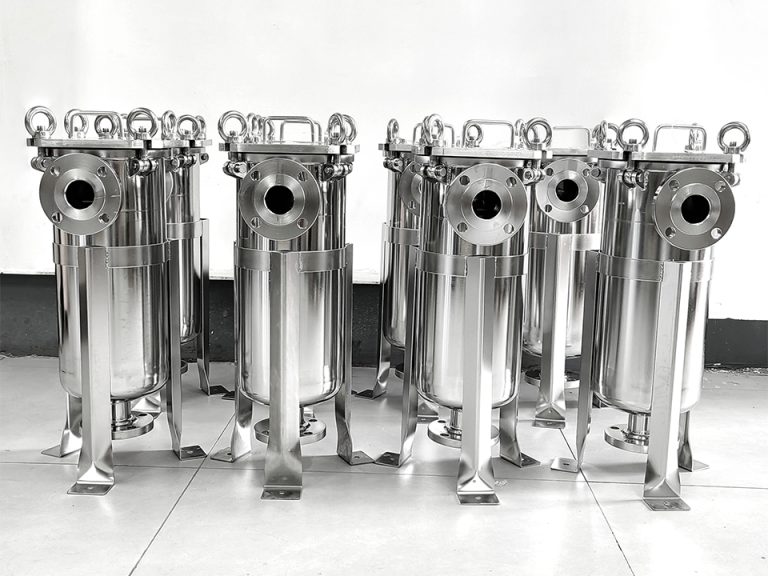
Support and orientation. Vertical cartridge housings should stand on their legs or supports without load from the piping. Strainers have a flow direction marked on the body, and the basket branch must sit as the manufacturer specifies so debris collects in the basket and can be drained. Follow the installation drawing rather than local habit.
Pipe stress. Do not use clamps or flange bolts to pull misaligned pipework into position. Stress at the connection shows up later as weeping gaskets or distorted sealing faces.
Access for maintenance. Check that the cover can open, the basket can lift out and cartridges can be withdrawn. This is easy to overlook with long elements. A sanitary multi-cartridge housing can be configured for cartridge lengths from 10″ to 40″ according to its product specification, and a 40″ element needs more headroom than the housing itself suggests.
Vent, drain and instruments. Place the vent at the highest point and the drain at the lowest. Install pressure gauges upstream and downstream, or confirm that the supplied gauge is on the correct side, so pressure drop can be read directly. Route drain discharge to a safe location, especially for hot, chemical, gas or steam service, and agree this with your process engineer.
New stainless equipment is rarely ready to receive product on arrival. Fabrication leaves oils, and site welding, grinding or contact with carbon steel tools can leave free iron on the surface.
ASTM A967 covers chemical passivation treatments for stainless steel parts. It includes cleaning and descaling precautions, rinsing to stop the passivating chemistry, and a free iron test with acceptance criteria. The practical point for buyers is to ask three questions:
Was the housing passivated by the manufacturer?
What test confirmed it?
Does any site welding or grinding afterward mean a local re-treatment is needed?
Two clarifications help avoid specification mistakes:
Passivation and polishing are different. Passivation addresses the chemical state of the surface. Mirror polishing and electropolishing are surface-finish options that affect cleanability, and they should be specified separately.
A hygienic standard applies only if you invoke it. The ASME BPE standard addresses equipment design for bioprocessing, pharmaceutical, personal-care and other highly hygienic applications. A food, beverage or process-water line may not require it, and a housing is not “BPE” simply because it is polished.
Flush before the elements go in. Weld spatter, pipe scale, gasket fragments and construction debris will blind new cartridges within hours. Flush the new line through a bypass spool or with the cartridges removed, then follow your site’s cleaning or sanitizing procedure. For a basket strainer, flushing with the basket in place is acceptable and expected. Inspect and clean the basket afterward, because it will have collected the first load of debris.
Step 4: Install Elements and Close the Housing
Most early leaks and bypass problems occur at this step.
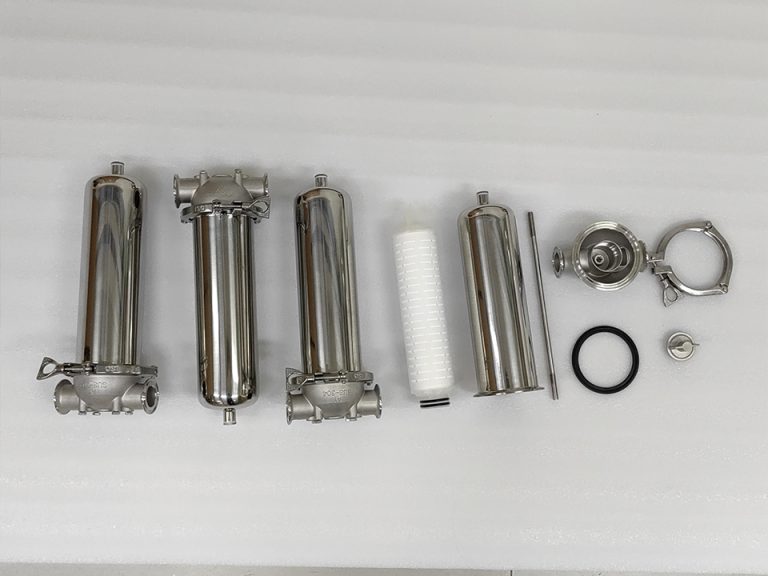
Seat the seals before closing. Manufacturer instructions for a 3M high flow sanitary design housing direct the installer to confirm the O-ring is properly placed in the groove on the housing before closing the cover. Entegris’s single and multi-round cartridge housing manual warns that O-ring misalignment will cause leakage. Those documents cover specific products, but the principle applies to any housing with O-ring or gasket sealing: inspect, wet or lubricate only as the manufacturer allows, seat, then close.
Close evenly. Tighten swing bolts or flange bolts in a cross pattern. For Tri-Clamp joints, center the gasket in the ferrules before fitting the clamp. Overtightening a misaligned gasket usually deforms it rather than sealing it.
Seat the basket. On strainers and duplex units, the basket rim must sit fully in its seat. A basket that rides high or cocked lets unfiltered liquid pass around it, and the strainer will look fine on the pressure gauge.
Match the element to the stream. A flanged housing with a sintered metal cartridge is listed for gas, steam and liquid particle filtration. For gas or steam, add checks on condensate drainage, safe venting and the flange gasket’s temperature rating, and agree these with your engineer before the first pressurization.
Step 5: Fill, Vent, Pressurize and Leak-Check
Close the drain and open the vent.
Open the inlet valve slowly and let the housing fill until liquid, without air, comes out of the vent. Then close the vent.
Bring flow and pressure up gradually. Fast valve opening or a pump started against a closed system can cause pressure shocks.
Inspect every joint at pressure: cover, clamps, flanges, gauge fittings, vent and drain.
If the system runs hot, re-inspect after it reaches temperature, because gaskets and bolts settle during thermal cycling.
Respect the weakest component. A housing’s catalog rating is not the system’s allowable limit. The cartridge, gasket compound, clamp, gauge and valves each have their own limits. Lvyuan’s multi-cartridge product page states that allowable conditions depend on the selected cartridge and sealing material. The mobile cart page states that its limits are subject to cartridge, seal and operating conditions. Use the lowest rating in the assembly as the test and operating ceiling. If a formal pressure or leak test is required, agree the medium and pressure with the manufacturer and your site procedure rather than improvising.
Duplex units. A duplex filter housing with two basket chambers and manual isolation valves adds changeover checks. Commission each chamber separately, then rehearse the changeover. Fill and vent the standby chamber before switching, move valves in the intended sequence, and confirm that the process is never left without a flow path. Label valve positions at the unit.
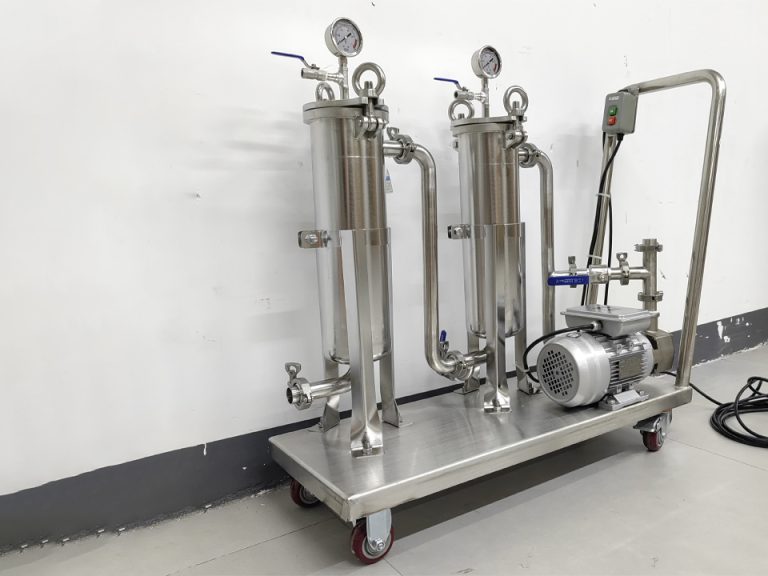
Pump-equipped carts. A mobile stainless steel filtration cart combines housings, a circulation pump, piping, valves and instruments. Commissioning therefore also covers pump rotation direction and avoiding dry running. It covers hose or pipe connection to the process, and whether the pump’s flow at your actual pressure drop suits the cartridge stages installed.
Step 6: Record the Clean-Condition Baseline
This step is the one most often skipped, and it is what makes later troubleshooting possible. Once flow is stable at the design rate, record:
Upstream and downstream pressure and the resulting differential pressure.
Flow rate and fluid temperature.
Element type, rating and installation date.
Valve positions and any settings.
Gauge range and calibration status.
A clean-element differential pressure is the reference point for judging fouling. Ask the cartridge or basket supplier what differential pressure they recommend for change-out, because it depends on media, fluid and housing. Do not borrow a figure from a different filter type. Gauge records also help detect bypass. A differential pressure far below the expected clean value can indicate a missing, misseated or wrong-style element rather than a “good” filter.
Why a Leak-Free First Start Does Not Prove the Housing Is Commissioned
The common assumption is that if nothing drips, the job is done. That is only partly true. An external leak check confirms sealing at the tested pressure and temperature. It does not confirm that liquid is passing through the element rather than around it. It also does not confirm that the surface is free of contamination, or that the installed seals and cartridge suit the duty.
Consider an illustrative case, not a real customer story. A plant installs a housing for a process-water line and fits cartridges with the wrong end-cap style. There is no external leak, but differential pressure reads lower than expected and downstream particle counts are poor. Every visible check passed, and the system still failed its purpose. A baseline reading and a check of element style at installation would have caught this on day one.
The trade-off is time. Full documentation, flushing and baseline recording add hours to a start-up. For a low-risk protective strainer that is inspected regularly, a shorter version of this list is proportionate. For hygienic, product-contact or hard-to-access installations, the extra checks cost far less than a contaminated batch or an unplanned shutdown.
Commissioning Priorities by Housing Type
The table summarizes where the emphasis shifts. Ratings shown are published catalog ranges from Lvyuan’s product pages and describe configurable options, not guaranteed values for any particular order. Confirm your unit’s actual figures against its nameplate and datasheet.
Housing type
Commissioning priorities
Typical failure mode
Published catalog values to confirm against your order
Sanitary Y strainer
Basket seating, cover seal, gasket compound, flow direction
Debris bypass from unseated basket; cover weeping
50–300 μm; up to 145 psi (10 bar); up to 248°F (120°C)
Pump damage; cartridge overload from mismatched flow
0.2–100 μm; 5–50 GPM; up to 87 psi (6 bar); up to 176°F (80°C)
Commissioning Records to Request at Handover
Ask for these, or create them on site, so that the file survives staff turnover:
Signed commissioning checklist with date, operator and instrument tag numbers.
Material and surface-treatment certificates as ordered (material test reports, passivation or electropolishing records).
Pressure or leak test record, if a test was specified.
Baseline pressure, flow and temperature log.
Element and seal part numbers, plus a spare-parts list.
Installation drawing, valve schematic and, for duplex units, the changeover procedure.
What Should You Specify Before Requesting a Quote?
Commissioning goes faster when the housing arrives configured for the duty. Include these in your RFQ:
Fluid and cleaning chemistry: product, concentration, and any sanitizing or cleaning cycle, because these set material grade and gasket compound.
Operating and design conditions: flow rate, temperature, maximum pressure and allowable pressure drop.
Filtration requirement: micron rating, media type, and whether a basket, cartridge or sintered element is intended.
Connections: type, size and flange standard or clamp specification, plus orientation constraints at your site.
Finish and documentation: polish level, passivation or electropolishing records, material certificates and any hygienic standard you are invoking.
Instruments and ports: gauge range, vent and drain locations, and sampling points.
Duty pattern: continuous service that cannot stop for basket cleaning points toward a duplex arrangement.
Spares: replacement elements, gaskets and O-rings for the first service interval.
Sending this information with the first inquiry lets the supplier confirm that each requested option is feasible. It also lets you build the commissioning checklist from the actual order.
Frequently Asked Questions
What is the first thing to check when commissioning a stainless steel filter housing?
Check the delivered unit against the approved datasheet before installation: nameplate ratings, material grade, connection type and size, element style and seal material. Mismatches found at this stage are inexpensive to correct. Mismatches found after piping or startup can require shutdowns.
Do stainless steel filter housings need passivation before use?
Often the manufacturer performs it, so ask for the record. ASTM A967 describes chemical passivation, rinsing and a free iron test. Site welding, grinding or carbon-steel contamination may justify re-treatment. Passivation does not replace a polish or hygienic finish specification.
How do you remove air from a filter housing at startup?
Close the drain, open the vent at the housing’s high point, and fill slowly until liquid exits without air. Close the vent, then raise flow gradually. Recheck the vent after a few minutes and during early operation, because trapped air can release later.
Should the cartridge be installed during a pressure test?
Follow the manufacturer’s procedure. Test pressure must not exceed the lowest-rated component, which may be the cartridge, gasket, gauge or clamp rather than the housing shell. Many installations flush and test piping before elements are fitted, then verify seals under operating conditions.
What should be recorded as the baseline after commissioning?
Record upstream and downstream pressure, differential pressure, flow rate, fluid temperature, element type and installation date, valve positions and gauge calibration status. The clean differential pressure is the reference for fouling, and an unusually low value can indicate bypass.
How does commissioning a basket strainer or duplex housing differ from a cartridge housing?
Strainers emphasize basket seating, flow direction, cover bolting and drain. Duplex units add changeover rehearsal and valve labeling. Cartridge housings emphasize O-ring seating, end-cap style, venting and, in multi-round units, checking every cartridge position.